The EOS 100D camera has built in vignette correction (called peripheral illumination correction in the camera's menu) but this only works with Canon lenses for which the camera has data1. Also it is only applied to JPEG images, the raw image files are uncorrected. When processing raw images, or images taken with non-Canon lenses (such as a telescope), I need to apply vignette correction on my Linux computer. In my next blog post I'll describe the software I've written (as part of my Pyctools project) in more detail. This is a general introduction.
The picture below shows the vignetting problem. It's a subtle effect which may not be that visible, as the eye is very good at ignoring gradual changes in illumination. We evolved in an unevenly lit world. It is also less visible in pictures with lots of detail. A plain clear sky is probably the most testing subject. (Click on a picture to see the full size version on Flickr.)
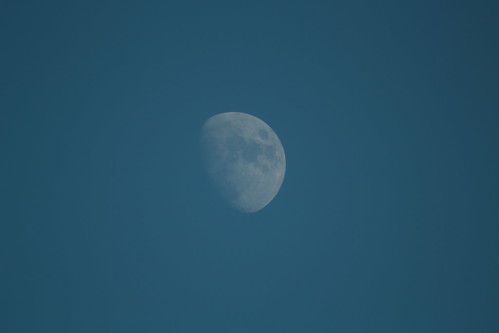
After correction the sky is a much more even blue, as shown below. Comparing the two might make you think I've over-done the correction, but I'm fairly sure I haven't.

Processing
The processing involved is actually quite simple. Vignetting is a reduction of light that varies with distance from the centre of the image, so correcting it requires multiplying the image pixel values by an amount that also varies with distance from the centre of the image. The tricky bit is determining how much correction to apply at each radius.
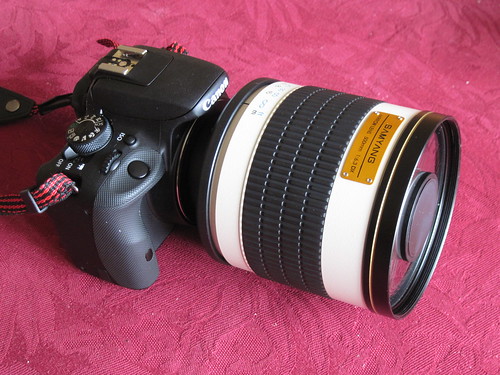
I start by photographing a plain grey card, illuminated as evenly as I can manage, using the lens (and lens settings) that I want to correct for. With my budget mirror lens or an astronomical telescope the focal length and aperture are fixed, so I just have to make sure the focus distance is correct.

I then process the photograph with my vignette correction software and adjust its parameters until the output shows minimum radial variation. To check this I multiply the corrected image data by increasing amounts (4, 8, 16, etc.) as I get nearer the optimum settings. Eventually the unevenness of the card's illumination is the dominant factor. I can then store the vignette corrector settings, knowing they will be applicable to other pictures taken with that lens.
At this point you might be thinking what about gamma correction? The vignette correction needs to be applied to linear intensity, so should be done before the raw image data is gamma corrected for storage in JPEG or similar formats, i.e. as part of the raw image processing. In the moon examples shown above I didn't capture raw images, so I applied an inverse gamma function before correcting the vignette and then gamma correcting again.
[1] I got some odd results when I first started using the 500mm mirror lens. I'm using a T adaptor with a focus confirmation "chip" that the camera recognised as a Canon 50mm f/1.8 lens and applied that lens's correction data. I cured this problem by using Canon's software to remove all lens data from the camera except the Canon lens I have.↩
No comments:
Post a Comment